Home Assistant on Raspberry PI: SD to SSD Migration
I've been running Home Assistant on a Raspberry Pi 5 for a year or so, from a 128GB Micro SD card. When I set this up I knew that, generally, running something like HAOS on an SD card is considered to be A Bad Plan, due to the fact that HAOS does a lot of very frequent read/writes at a volume SD cards are not really meant for. And honestly, I haven't really had any problems! But as I increasingly add devices and automations to my Home Assistant setup, I figured it was time to move to a more reliable setup.
The route I went with was to switch to an NVMe SSD, which is much more equipped for constant read/write cycles and therefore not constantly threatening to take down my entire system. I'm going to outline a guide here on the process of connecting an NVMe SSD to the Pi, and migrating Home Assistant over to it.
The components
It took me a little time to figure out the proper setup and parts to order, as SSDs come in a bunch of different shapes and configurations, none of which are directly pluggable into the Pi. So first you need something called an M.2 HAT (M.2 is related to the type of connector used by NVMe drives, HAT stands for "Hardware Attached on Top") to bridge the gap.
The most confusing part about choosing the right parts to buy turned out to be the simple fact that when you start sticking various computer parts together, sometimes different parts get in the way of each other and don't fit together anymore. (This seems obvious I suppose, but I am a web/software person, and dealing with these physical parts is a bit new to me!)
My Pi 5 came with a case that has a little fan on top, so I wanted to make sure that whatever HAT I got wouldn't get in the way of the fan and the outer part of the case.
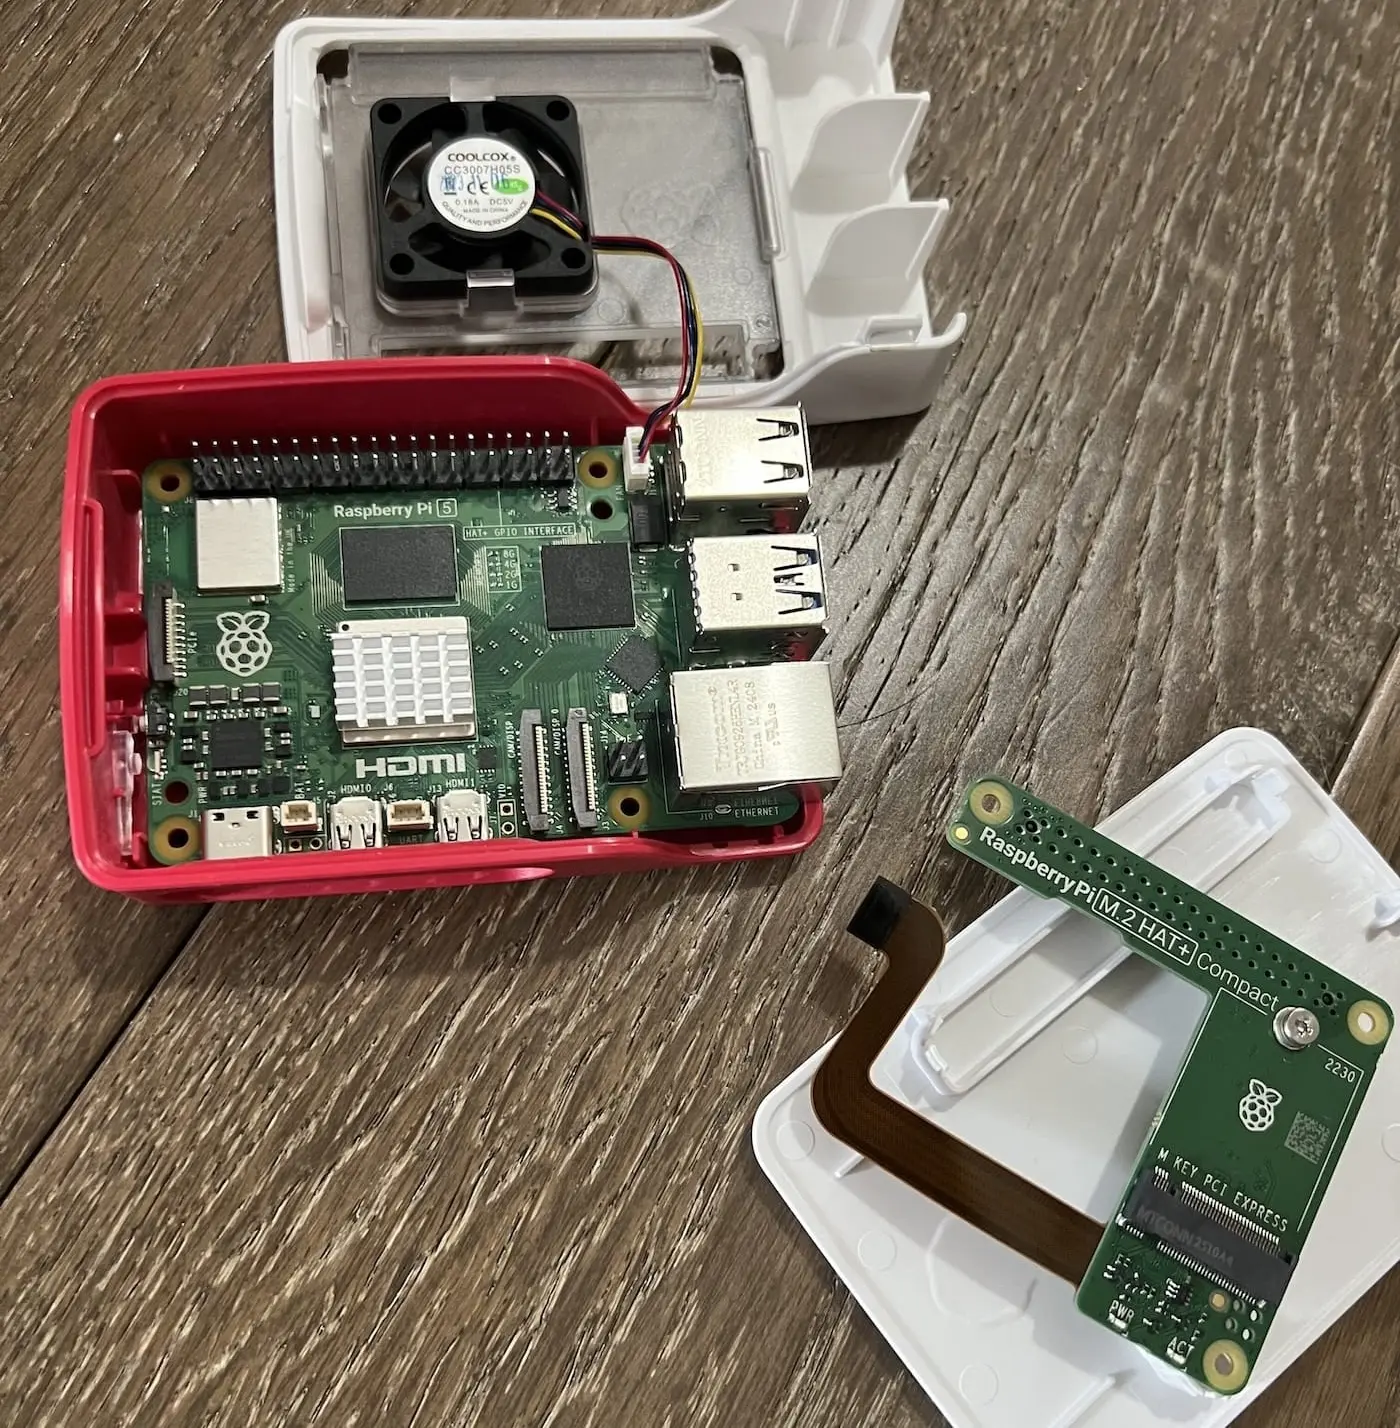
Here are the parts I ended up with:
- Official Raspberry Pi M.2 HAT+ - I specifically got the "Compact" version, which is built so you can still fit the little fan on top inside the official case. There are lots of non-official vendors that make these as well, which probably work just fine too, I just chose this one so I wouldn't end up needing to buy a new case and cooling device as well.
- 128GB M.2 PCIe NVMe 2230 SSD: That's a lot of acronyms, are you impressed? The main important bit here is 2230, which is the physical size/shape of the SSD itself and is the only size supported by the Compact HAT I bought. This size is less common than others, and a bit more expensive, but I found one for $20 on ebay that did the trick.
Physical Setup
First part is to get all the bits stuck together the right way. For my setup, Raspberry Pi has a guide on how to do this, so it wasn't too hard. There are some spacers to screw in which keep the HAT evently spaced from the main board, then you push some little pokey bits together, then add a couple more screws. Then you attach the SSD card itself, which involves unscrewing a little connector screw that you then put it back to hold it in place. Here it is after that:
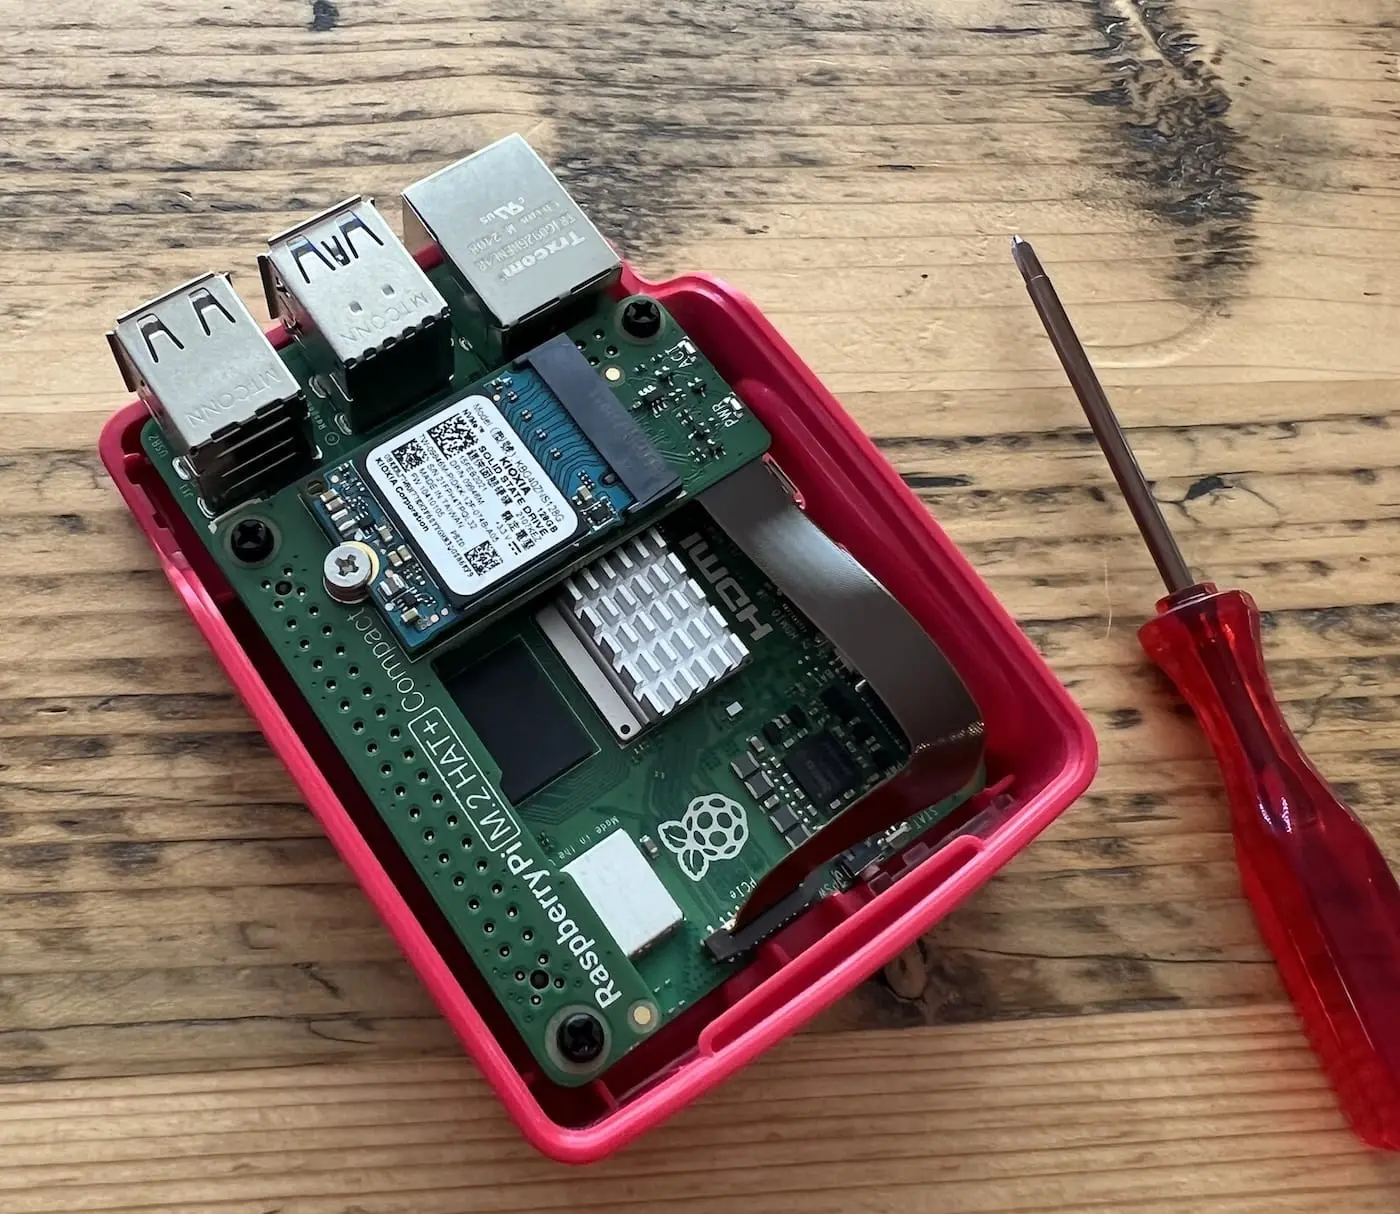
I had to wrestle a little bit to get the fan connector back into place...I probably should have just left the fan connected while installing the HAT, but since I didn't, I had to get the fan wires underneath the HAT which I achieved eventually with some tweezers.
Non-physical Setup
Okay, so there are 2 complications with booting the Raspberry Pi from NVMe:
- It won't boot from an NVMe by default (by default it will want an SD card), you have to instruct it to do so.
- NVMe is useless until you actually put something on it for it to run (in this case, Home Assistant OS). If you are using an SD card, you can just plug the SD card into your computer first and use Raspberry Pi imager to flash the OS onto it. But you probably don't have a way to connect your fancy new NVMe SSD to your computer, so the process has to be a little different.
To address both of these, we need to first write Raspberry Pi OS to an SD card, start that up in the Pi, then use Raspberry Pi OS (via ssh) to adjust some settings and flash Home Assistant OS onto the NVMe.
Step 1: Backups!
First things first, get a backup of your Home Assistant instance. You can do this from the HA dashboard via Settings → System → Backups.
As a side note, you should probably have automatic backups scheduled at a regular interval, which is not what I'm writing about here, but is quite easy to set up if you are interested.
Step 2: Flash Raspberry Pi OS to an SD Card
Download Raspberry Pi imager if you don't have it already, and connect the SD card to your computer. Then use Raspberry Pi Imager to write Raspberry Pi OS to the SD card. I chose "Raspberry Pi OS Lite" since I only needed the command line version.
In the Raspberry Pi Imager options, make sure ssh is enabled and configure a username and password.
You can also add wifi credentials in the settings, although I found it didn't show up on the network until I used an Ethernet cable to attach the Pi directly to my router. If you are running HAOS on it you will probably want to be using Ethernet anyway.
Note that everything that is currently on your SD card will be wiped. I couldn't find a spare so I actually just used the same SD card I was running Home Assistant from, which is fine, since I knew I had backups.
Once Imager is finished, you can safely remove your SD card from you computer, put it in the Raspberry Pi, and connect power.
Step 3: Boot Pi from SD card and ssh to it
Once Imager is finished, you can safely remove your SD card from you computer, put it in the Raspberry Pi, and connect the power cable and Ethernet if you are using it.
Give it a couple minutes to boot up, then find the Pi's IP address. There are various ways to find this: The easiest ones are to use your router's settings/interface, or use a network monitoring tool like Fing (the free version is enough for this purpose). You could also use a command line tool like nmap.
Once you have the IP, grab your terminal and ssh into your Pi with:
ssh <username-you-set>@<pi-ip-address>Because I'd used ssh to connect to Home Assistant before, the first time I used ssh to the Pi in this step, I got this scary error:
@@@@@@@@@@@@@@@@@@@@@@@@@@@@@@@@@@@@@@@@@@@@@@@@@@@@@@@@@@
@    WARNING: REMOTE HOST IDENTIFICATION HAS CHANGED!    @
@@@@@@@@@@@@@@@@@@@@@@@@@@@@@@@@@@@@@@@@@@@@@@@@@@@@@@@@@@
IT IS POSSIBLE THAT SOMEONE IS DOING SOMETHING NASTY!
Someone could be eavesdropping on you right now (man-in-the-middle attack)!
It is also possible that a host key has just been changed.
The fingerprint for the ED25519 key sent by the remote host is...
This is because the Pi now had a new OS, and therefore generated a new host key, which my computer did not recognize as the one it had associated with the Pi's IP before. I fixed this by running ssh-keygen -R <pi-ip-address> to remove the old host key entry.
Step 4: Update Pi firmware and set up NVMe boot
Once you're ssh'd into your pi successfully, do a quick check to make sure that your NVMe SSD is detected by running lsblk. The returned items should include something like nvme0n1.
Most tutorials I looked at also recommended upgrading the Raspberry Pi 5 firmware at this point. This command checks whether it is up to date:
sudo rpi-eeprom-updateMine returned a message that it was up to date already. If you don't get that message, you can update with this command, after which you will likely need to reboot and ssh back in:
sudo rpi-eeprom-update -aOnce you're up to date, use the raspi-config CLI to tell your Raspberry Pi to boot from NVMe. First run:
sudo raspi-configThat will open a menu like this:
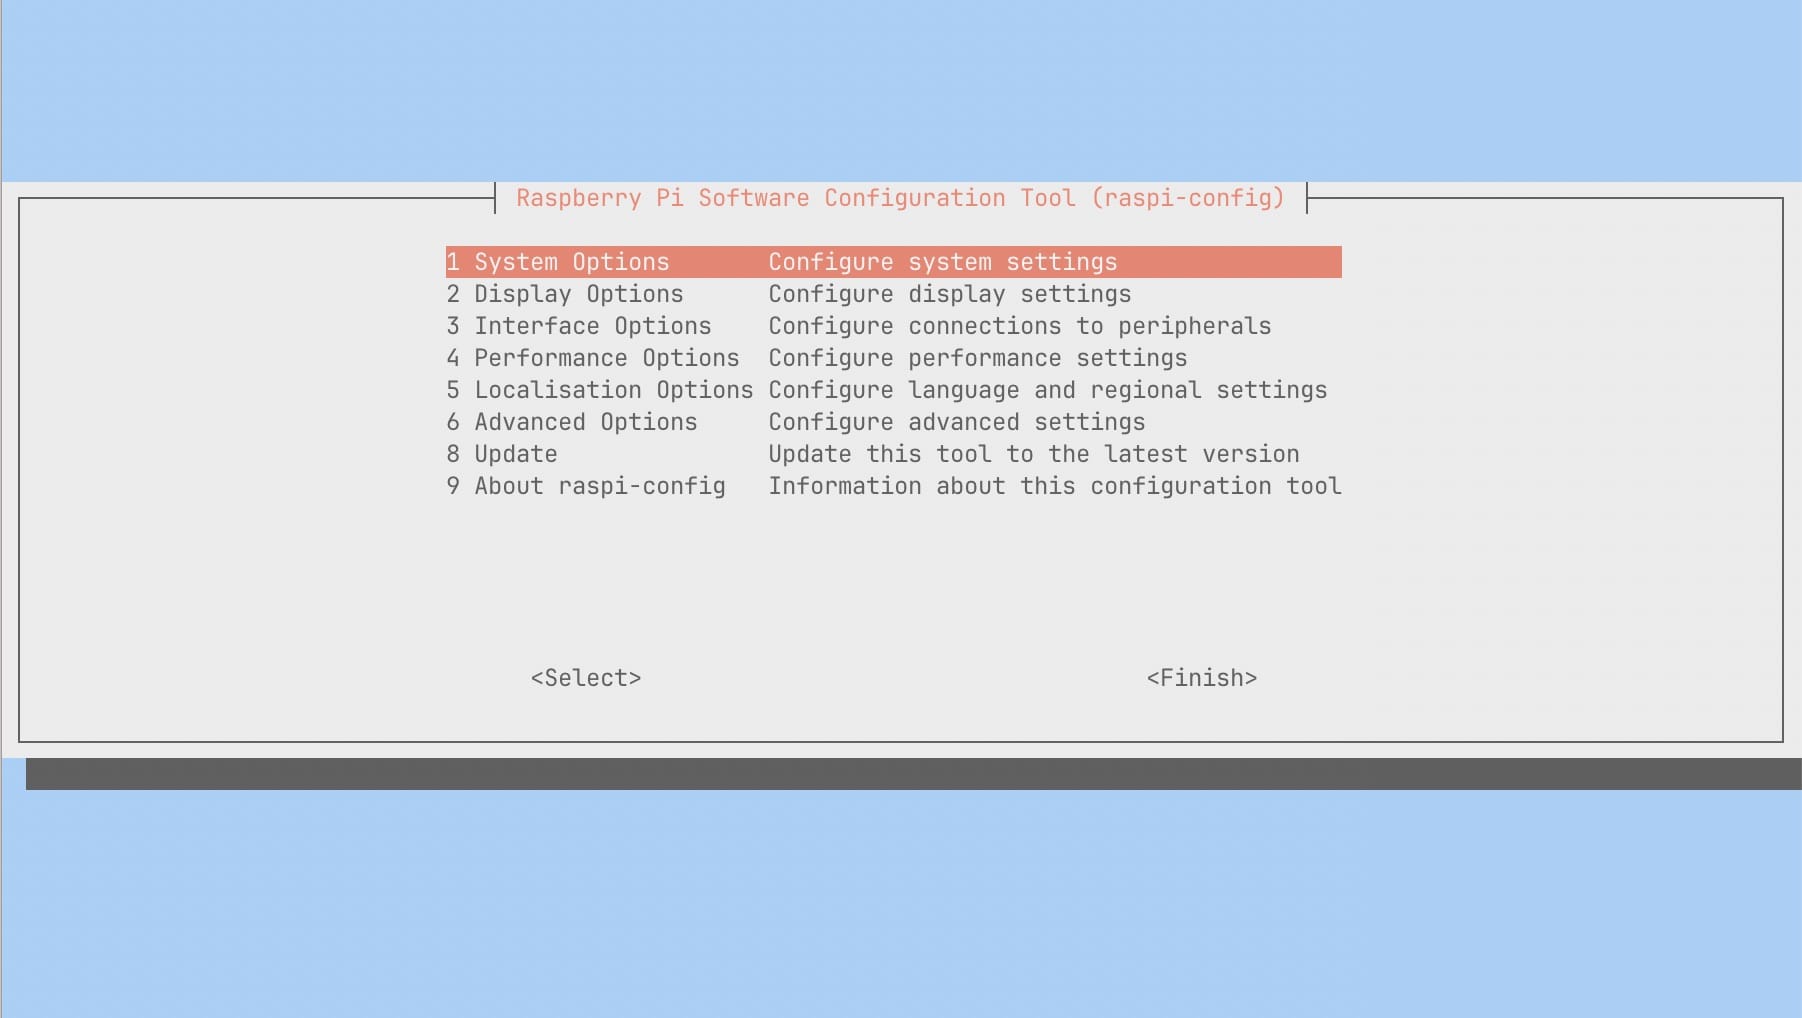
Select "Advanced Options," then "Boot Order" and enable "NVMe/USB Boot" and follow the prompts. Now next time you reboot the Pi, it'll attempt to boot from NVMe first (for now since you have nothing on the NVMe, it'll fall back to your SD card).
Step 5: Write Home Assistant OS to the NVMe SSD
First, find the URL of the latest HAOS image for Raspberry Pi from this page. Then in your ssh session, download it onto the Pi with wget. It will look something like this:
wget https://github.com/home-assistant/operating-system/releases/download/17.3/haos_rp15-64-17.3.img.xzTo write it to the SSD, you might be able to use Raspberry Pi Imager, though I ran into an error with this regarding the Imager trying to load a GUI graphics library and not having access to it. Maybe just because I was using the "Lite" version of Raspberry Pi OS. I'll document that option below as well as the one that worked for me:
Option 1: rpi-imager
First install:
sudo apt install rpi-imagerThen once installation is done, run the following (make sure the HA image matches the name of the actual version you downloaded):
sudo rpi-imager --cli haos_rpi-64-17.3.img.xz /dev/nvme0n1Option 2: dd
The above with rpi-imager didn't work for me, so I asked Claude for help, poked around online a bit, and ended up with this command:
xzcat haos_rpi5-64-17.3.img.xz | sudo dd of=/dev/nvme0n1 bs=4M status=progressWhat this command does generally: decompress the compressed image file, and pipe that data to dd which copies the raw data onto the NVMe.
Once it's done, run:
sync(here's a quick overview of what sync does if you are interested)
Step 6: Reboot and restore your backup!
Reboot the Pi by running sudo shutdown now, then phsyically unplugging it and plugging it back in.
Wait a bit, and Home Assistant should be accessible in your browser at homeassistant.local:8123. Be patient if it takes a few minutes, then you should see this:
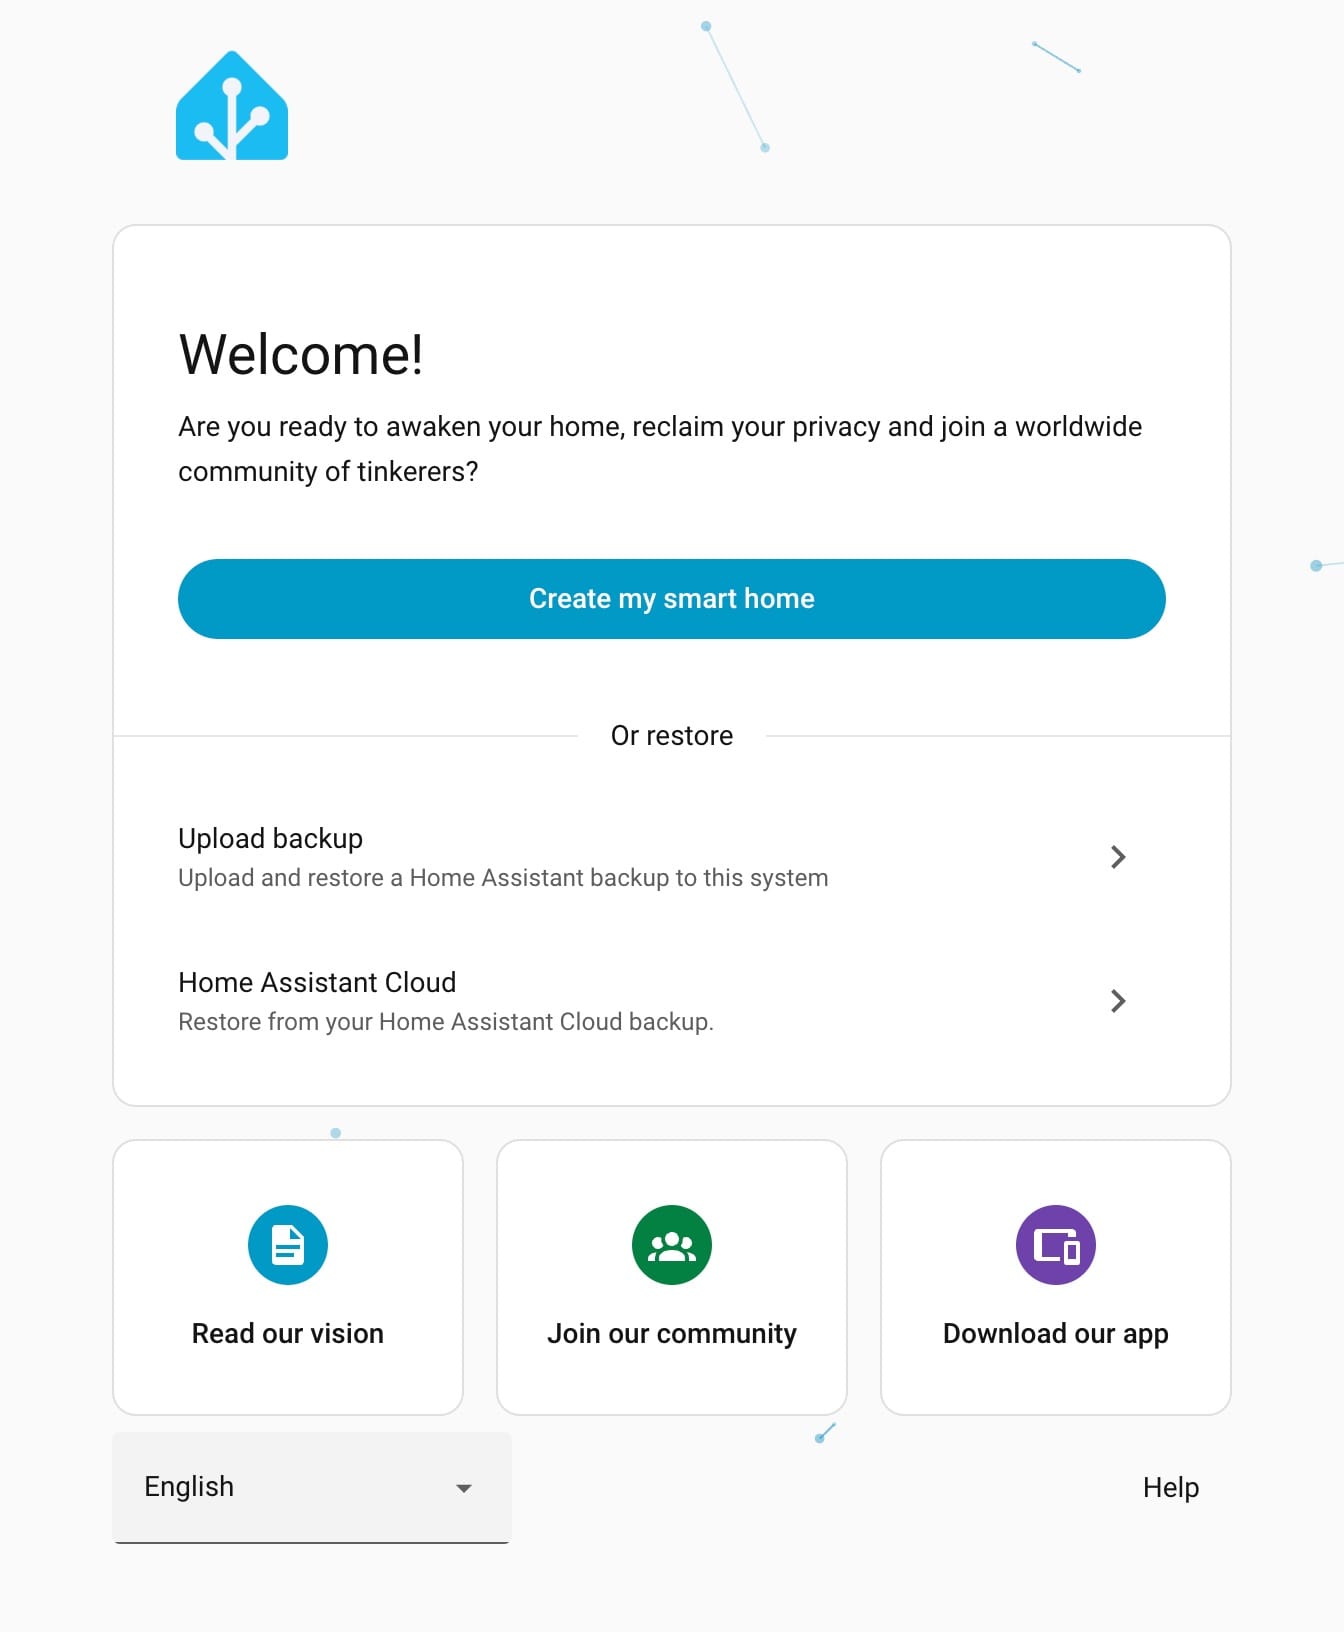
Follow the prompt to upload your backup. If you get a 500 Server Error at first, don't fear! It happened to me at first, I waited a couple more minutes, then it worked. It seems it was still just getting itself set up in the background.
You can remove the SD card you used to set things up, no need for it anymore.
Restoring from a backup happens pretty quickly, it might take a few minutes for everything to properly get turned on if you have a lot of add-ons and integrations, but you should be up and running again within a few minutes!
Resources
- adam.ac: Raspberry Pi & Home Assistant: From SD card to SSD
- frh.ch: Headless Installationof Home Assistant on a Raspberry Pi 5 with NVMe SSD
- blog.stefandroid.com: Building the Ultimate Home Assistant Raspberry Pi
- Jeff Geerling: NVMe SSD boot with the Raspberry Pi 5
- raspberrypi.com: Installing the M.2 HAT+