shader practice
Let me admit that I don't understand shaders.
I've been slowly learning in snatches of free time, but pretty much sticking to the basics: Draw a circle. Draw a rectangle. Draw a rectangle but moved over by so many pixels. Draw the same rectangle in 4 quarters of the screen. Draw a rectangle with another rectangle inside of it.
That's where I'm at. So this is by no means a tutorial of any kind, just some notes on some recent experiments.
This weekend I watched a twitch stream from curiouslyminded exploring shaders, and got inspired to go back to The Book of Shaders and take a look at some basic exercises/ideas.
The shaping function chapter of The Book of Shaders ends with suggestions of equations to play with to start building up a 'toolbox' of functions for various projects.
This graphic shows a bunch of ways to manipulate values between 0 and 1:
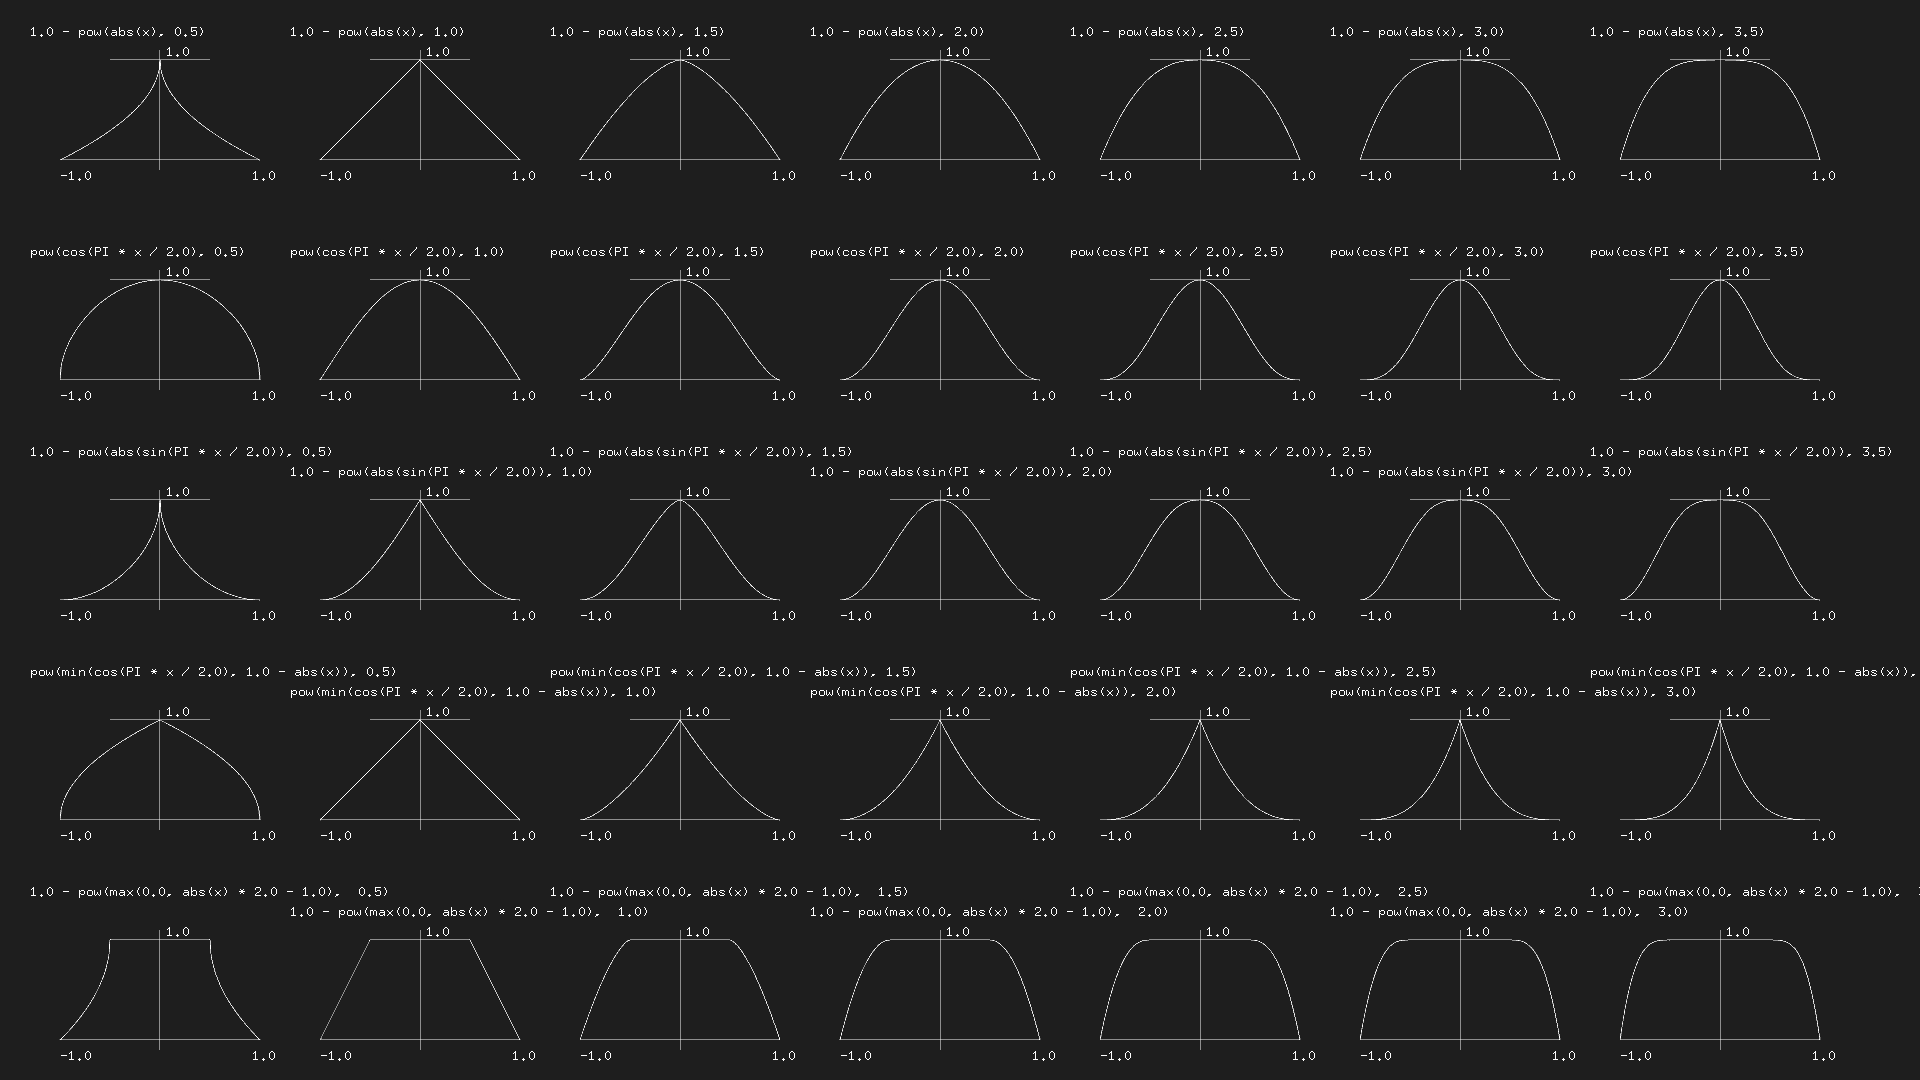
If you take a look at the top row of the image, you can see how the function is basically the same except that the exponent moves between 0.5 and 3.5. So I thought we could get some cool shapes by making that exponent into a variable that gradually shifts between two different values.
The first equation is 1.0 - pow(abs(x), 0.5). I managed to figure out how to map this into a simple shader. At first I just did this in VSCode using the GLSL Viewer extension, then I moved it into p5.js.
I still do not entirely understand how the setup works with these... I generally start out by grabbing the uniform/attribute names and the scripts to position the shader correctly from an external resource. The Book of Shaders helped with the first version; in the second, I used language from this p5.js shaders guide.
#ifdef GL_ES
precision mediump float;
#endif

uniform vec2 u_resolution;

void main() {
    vec2 st = gl_FragCoord.xy/u_resolution.xy;
    st.x *= u_resolution.x/u_resolution.y;
    st -= vec2(0.5);
    st *= 2.;

    float c = 1.0 - pow(abs(st.x), 0.5);
    vec3 color = vec3(step(c, st.y));

    gl_FragColor = vec4(color, 1.0);
}
Then I moved it into p5.js:
let vShader = `
attribute vec3 aPosition;
attribute vec2 aTexCoord;
varying vec2 vTexCoord;

void main() {
vTexCoord = aTexCoord;
vec4 positionVec4 = vec4(aPosition, 1.0);
positionVec4.xy = positionVec4.xy \* 2.0 - 1.0;
gl_Position = positionVec4;
}
`

let fShader = `
precision mediump float;
uniform vec2 resolution;

void main() {
vec2 st = gl_FragCoord.xy / resolution.xy;
st -= vec2(1.0, 1.0);
float c = 1.0 - pow(abs(st.x), 0.5);
vec3 color = vec3(step(c, st.y));
gl_FragColor = vec4(color, 1.0);
}
`

function setup() {
createCanvas(400, 400, WEBGL)
noStroke()
shd = createShader(vShader, fShader)
}

function draw() {
shader(shd)
shd.setUniform('resolution', [width, height])
rect(0, 0, width, height)
}
Okay, leaving aside all the uniforms and positioning bits, the important part in each bit of code is these couple of lines:
float c = 1.0 - pow(abs(st.x), 0.5);
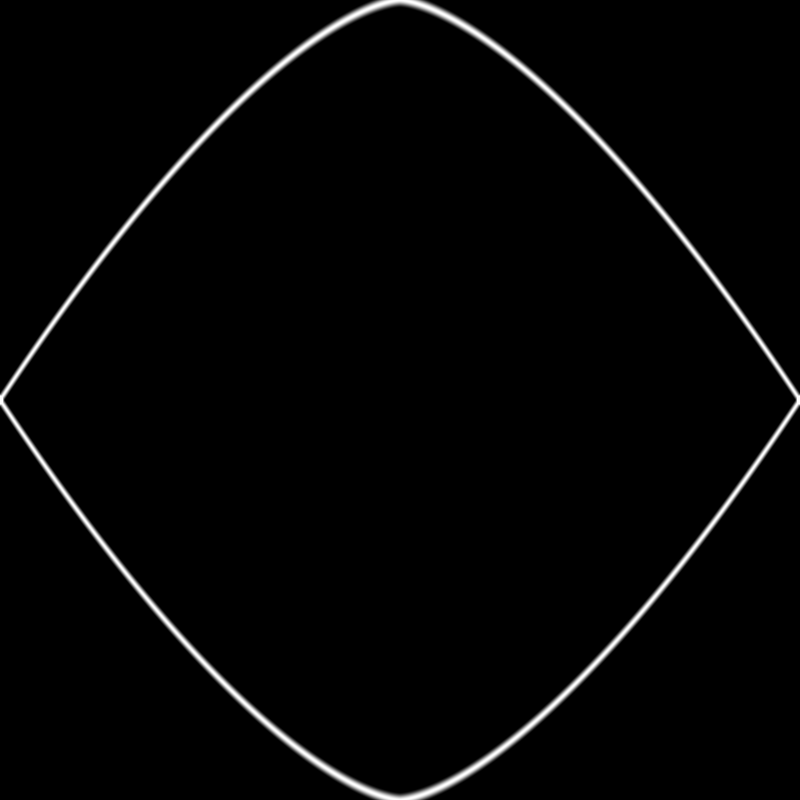
vec3 color = vec3(step(c, st.y));Using a smoothstep function instead of step lets us make the shape into a line. I got this code from The Book of Shaders, although I still can't quite get my brain to wrap around the way it works, I might need to dig into that a bit more another day.
float c = 1.0 - pow(abs(st.x), 0.5);
vec3 color = vec3(smoothstep(c - 0.02, c, st.y) - smoothstep(c, c + 0.02, st.y));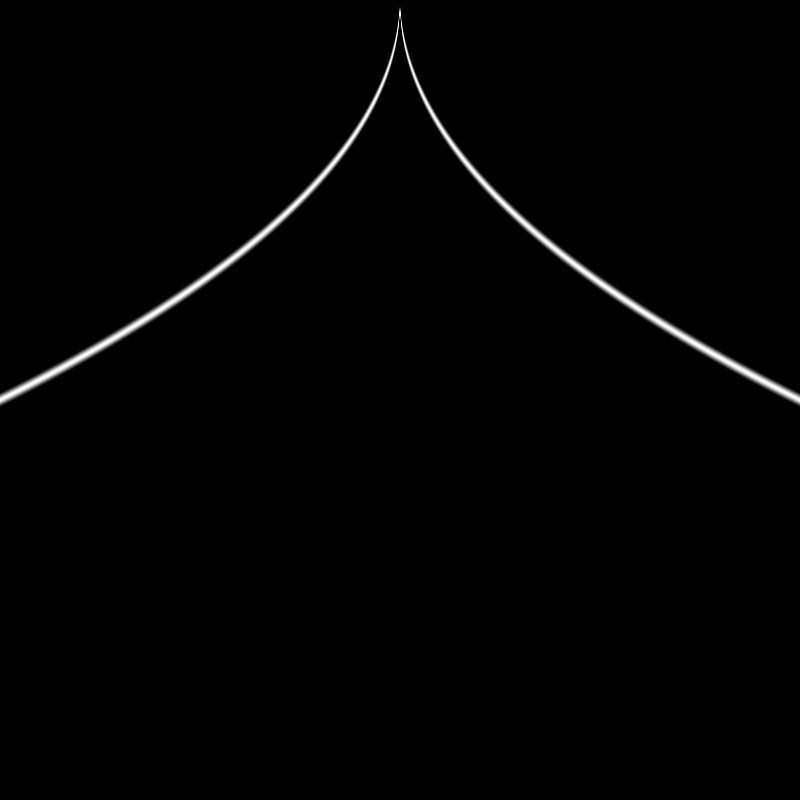
Then if we adjust the exponent, we can manipulate the shape:
float c = 1.0 - pow(abs(st.x), 1.0);
float c = 1.0 - pow(abs(st.x), 1.5);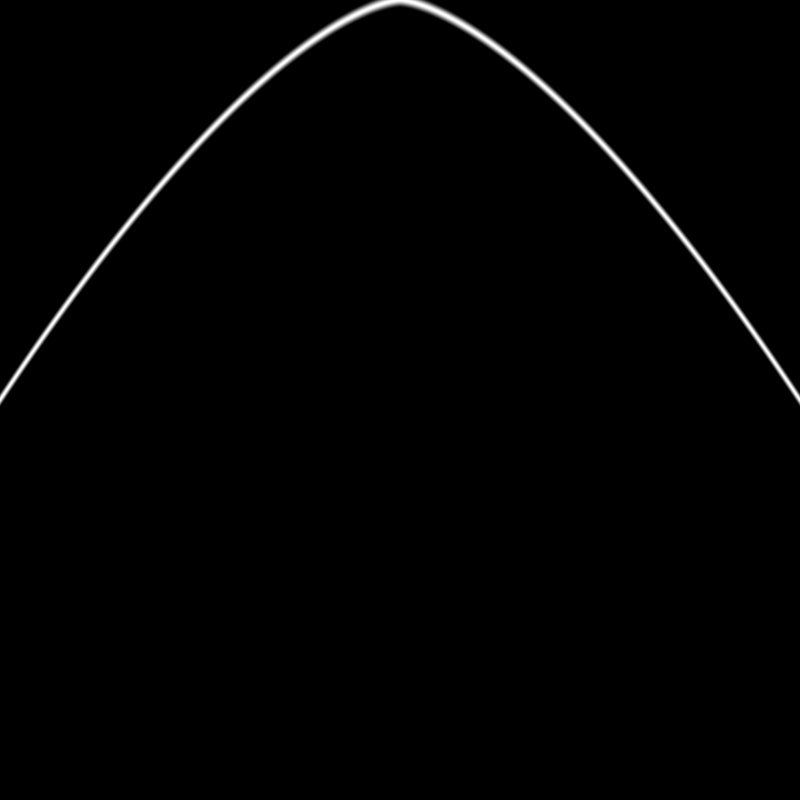
float c = 1.0 - pow(abs(st.x), 2.0);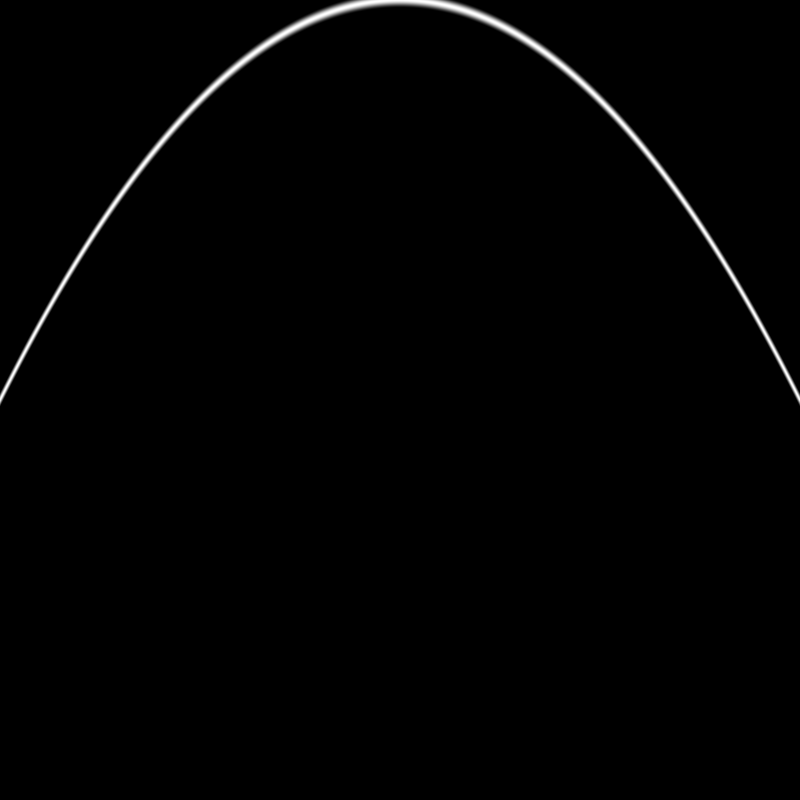
I moved the formula for the shape out into a separate function, and added a second function that would be a reflection of it:
float shape(float power, float x) {
	return  1.0 - pow(abs(x), power);
}

float shapeTwo(float power, float x) {
    return pow(abs(x), power);
}

void main() {
vec2 st = gl_FragCoord.xy / resolution.xy;
st -= vec2(1.0, 1.0);

    float c1 = shape(1.5, st.x);
    float c2 = shapeTwo(1.5, st.x);
    vec3 color = vec3(0.0, 0.0, 0.0);

    color += smoothstep(c1-0.02, c1, st.y) - smoothstep(c1, c1+0.02, st.y);
    color += smoothstep(c2-0.02, c2, st.y) - smoothstep(c2, c2+0.02, st.y);

    gl_FragColor = vec4(color, 1.0);

}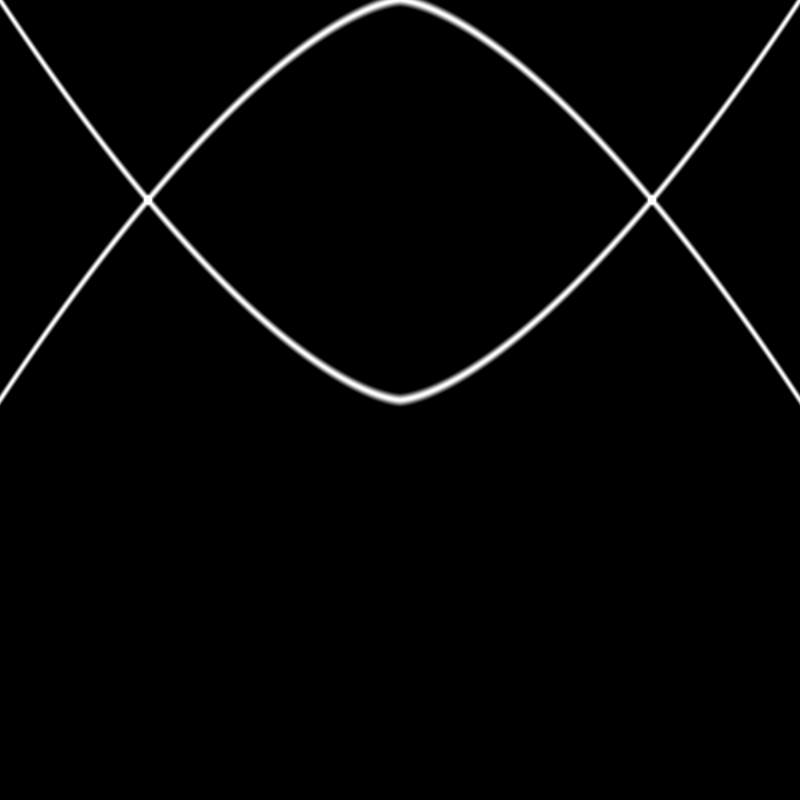
It turned out that to get the effect I was imagining I needed to move the second shape down:
float shapeTwo(float power, float x) {
    return pow(abs(x), power) - 1.0;
}
Then I added a for loop to basically do the same thing a bunch of times, adjusting the exponent slightly on each iteration of the loop:
for (float i = -1.0; i < 1.0; i += 0.1) {
    float c1 = shape(power - i, st.x);
    float c2 = shapeTwo(power - i, st.x);
    color += smoothstep(c1-0.02, c1, st.y) - smoothstep(c1, c1+0.02, st.y);
    color += smoothstep(c2-0.02, c2, st.y) - smoothstep(c2, c2+0.02, st.y);
}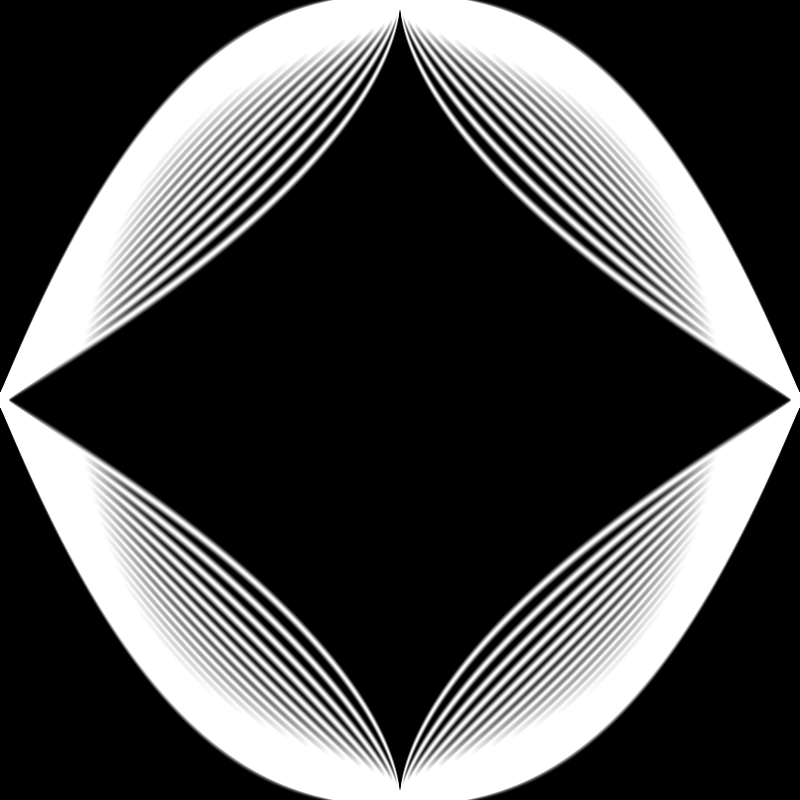
Sometime after that, I added in a uniform for time - basically just a variable that increments each time p5's draw function runs, and gets passed to the shader.
Aaaaand after some experimentation ended up with this final product:

Here's the final code in the main fragment shader:
void main() {
	vec2 st = gl_FragCoord.xy / resolution.xy;
	st *= vec2(1.0, 2.0);
	st -= vec2(1.0, 2.0);

	vec3 color = vec3(0.0, 0.0, 0.0);
	float power = max(fract(time * 0.5) * 4.0 - 3.0, fract(time * 0.5) * -4.0 + 1.0);

	for (float i = -1.0; i < 1.0; i += 0.1) {
		float c1 = shape(power - i, st.x);
		float c2 = shapeTwo(power - i, st.x);
		color += smoothstep(c1-0.02, c1, st.y) - smoothstep(c1, c1+0.02, st.y);
		color += smoothstep(c2-0.02, c2, st.y) - smoothstep(c2, c2+0.02, st.y);
	}

	gl_FragColor = vec4(color, 1.0);
}
A couple notes on this last bit of code:
- At some point, I adjusted the code in the beginning of this function that positions the
stvariable. Thest *= vec2(1.0, 2.0);line stretches out the x-axis. - The line that adjusts the power function according to the time is pretty weird... I was trying to just have it move linearly up & down rather than use a sine function for timing. I fiddled with graphtoy.com until I found the function combination I liked. If you follow this link you should be able to see exactly what those functions were and how they are combined (click on the labels next to each of the functions to toggle their visibility).
Here's a version using sine function for timing instead of linear: